
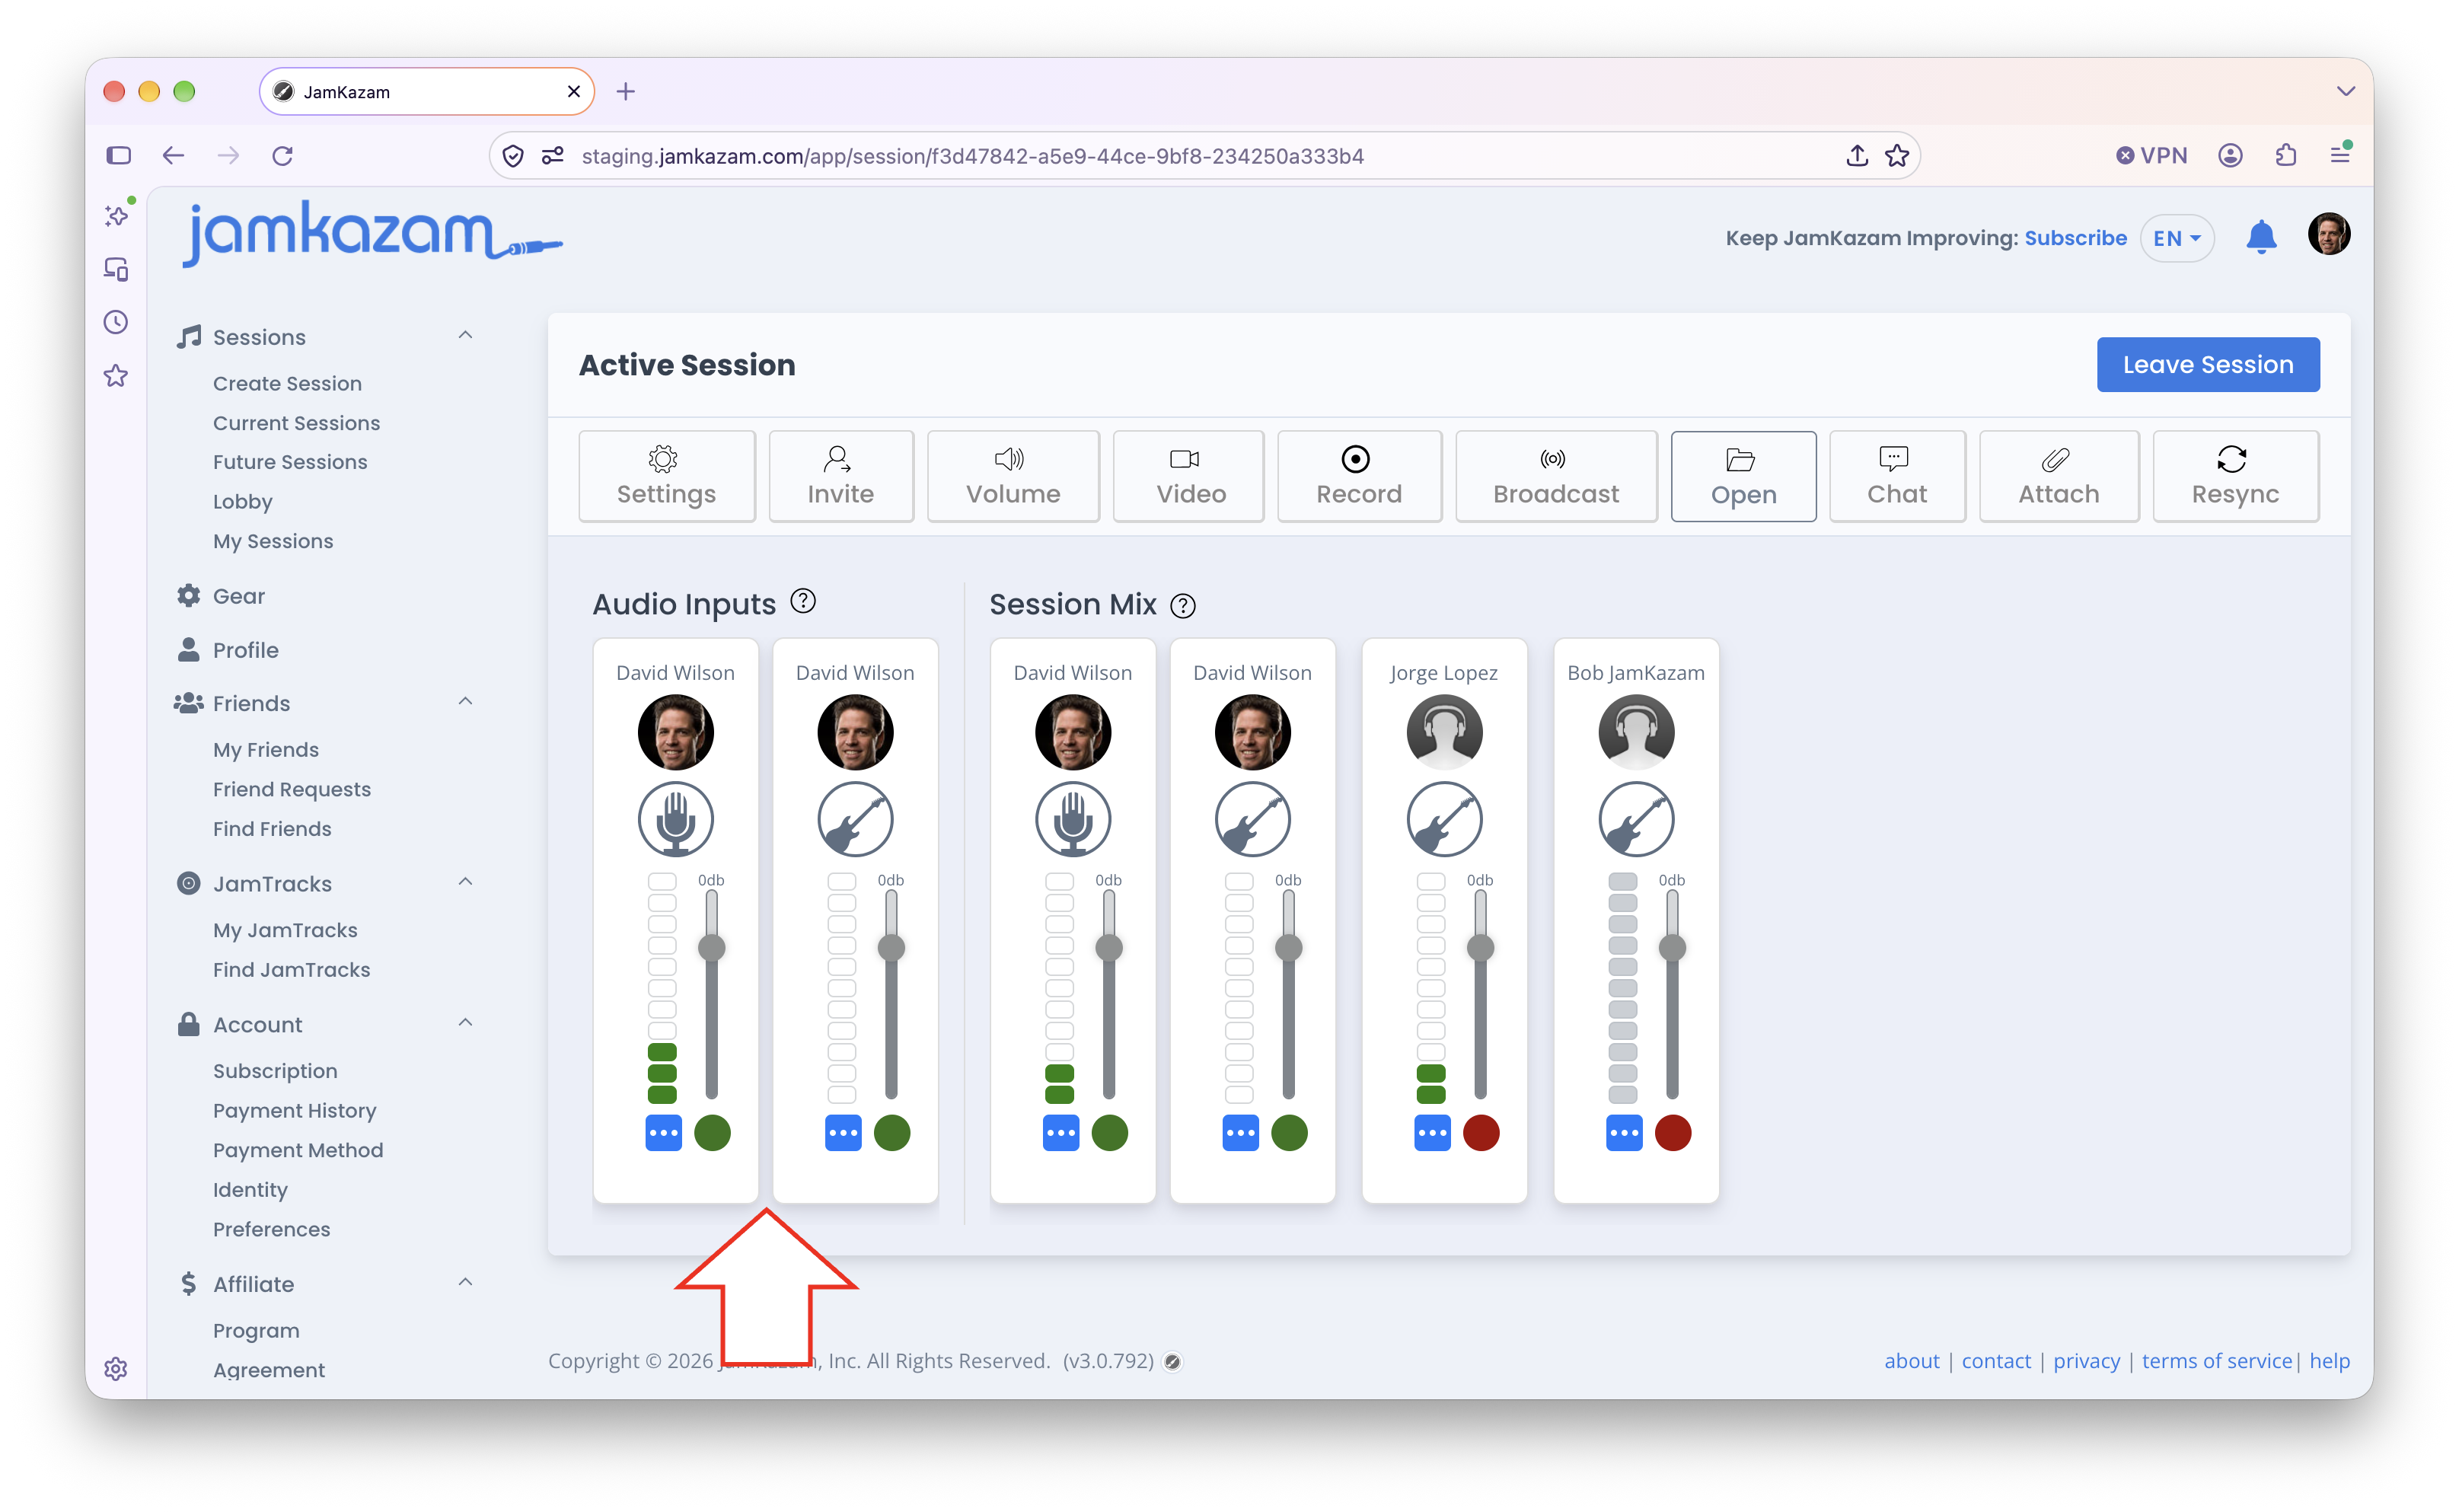
Before adjusting the audio mix for your session, you should have already set your audio input levels to make sure that the audio from your own instruments and vocals are being captured in a way that will yield high quality audio that works well for you and everyone else in your session. To set your own audio inputs to proper/ideal levels, you use the controls in the Audio Inputs left column of the session screen (see below with arrow). Once you have set your audio input levels properly based on the VU meters, you should leave these audio input settings alone in sessions.
You should also make sure that you have any direct monitoring feature turned off on your audio interface, as this feature will otherwise quietly destroy your session audio. If you don't know how to check this, please review this help article on turning off direct monitoring.
This help article explains how to adjust your personal mix in a session. This covers how to adjust the relative volume of your own instruments/vocals and the relative volume of all the other musicians in your session to get a on overall mix/balance that sounds good to you, as well as how to adjust the overall session volume to a comfortable level.
Start by getting the overall session volume set overall at a comfortable level. To do this, we recommend using the headphone volume knob on your audio interface (see below for an example interface with arrow).

Turn this headphone volume knob up or down as needed to get the session audio loud enough to hear comfortably, but not so loud that it hurts your ears. Once you've done this, you can move forward to individually adjust the volume for each musician in the session. You will make these individual musician volume adjustments in the "Personal Mix" center column of the session screen (see below with arrow).
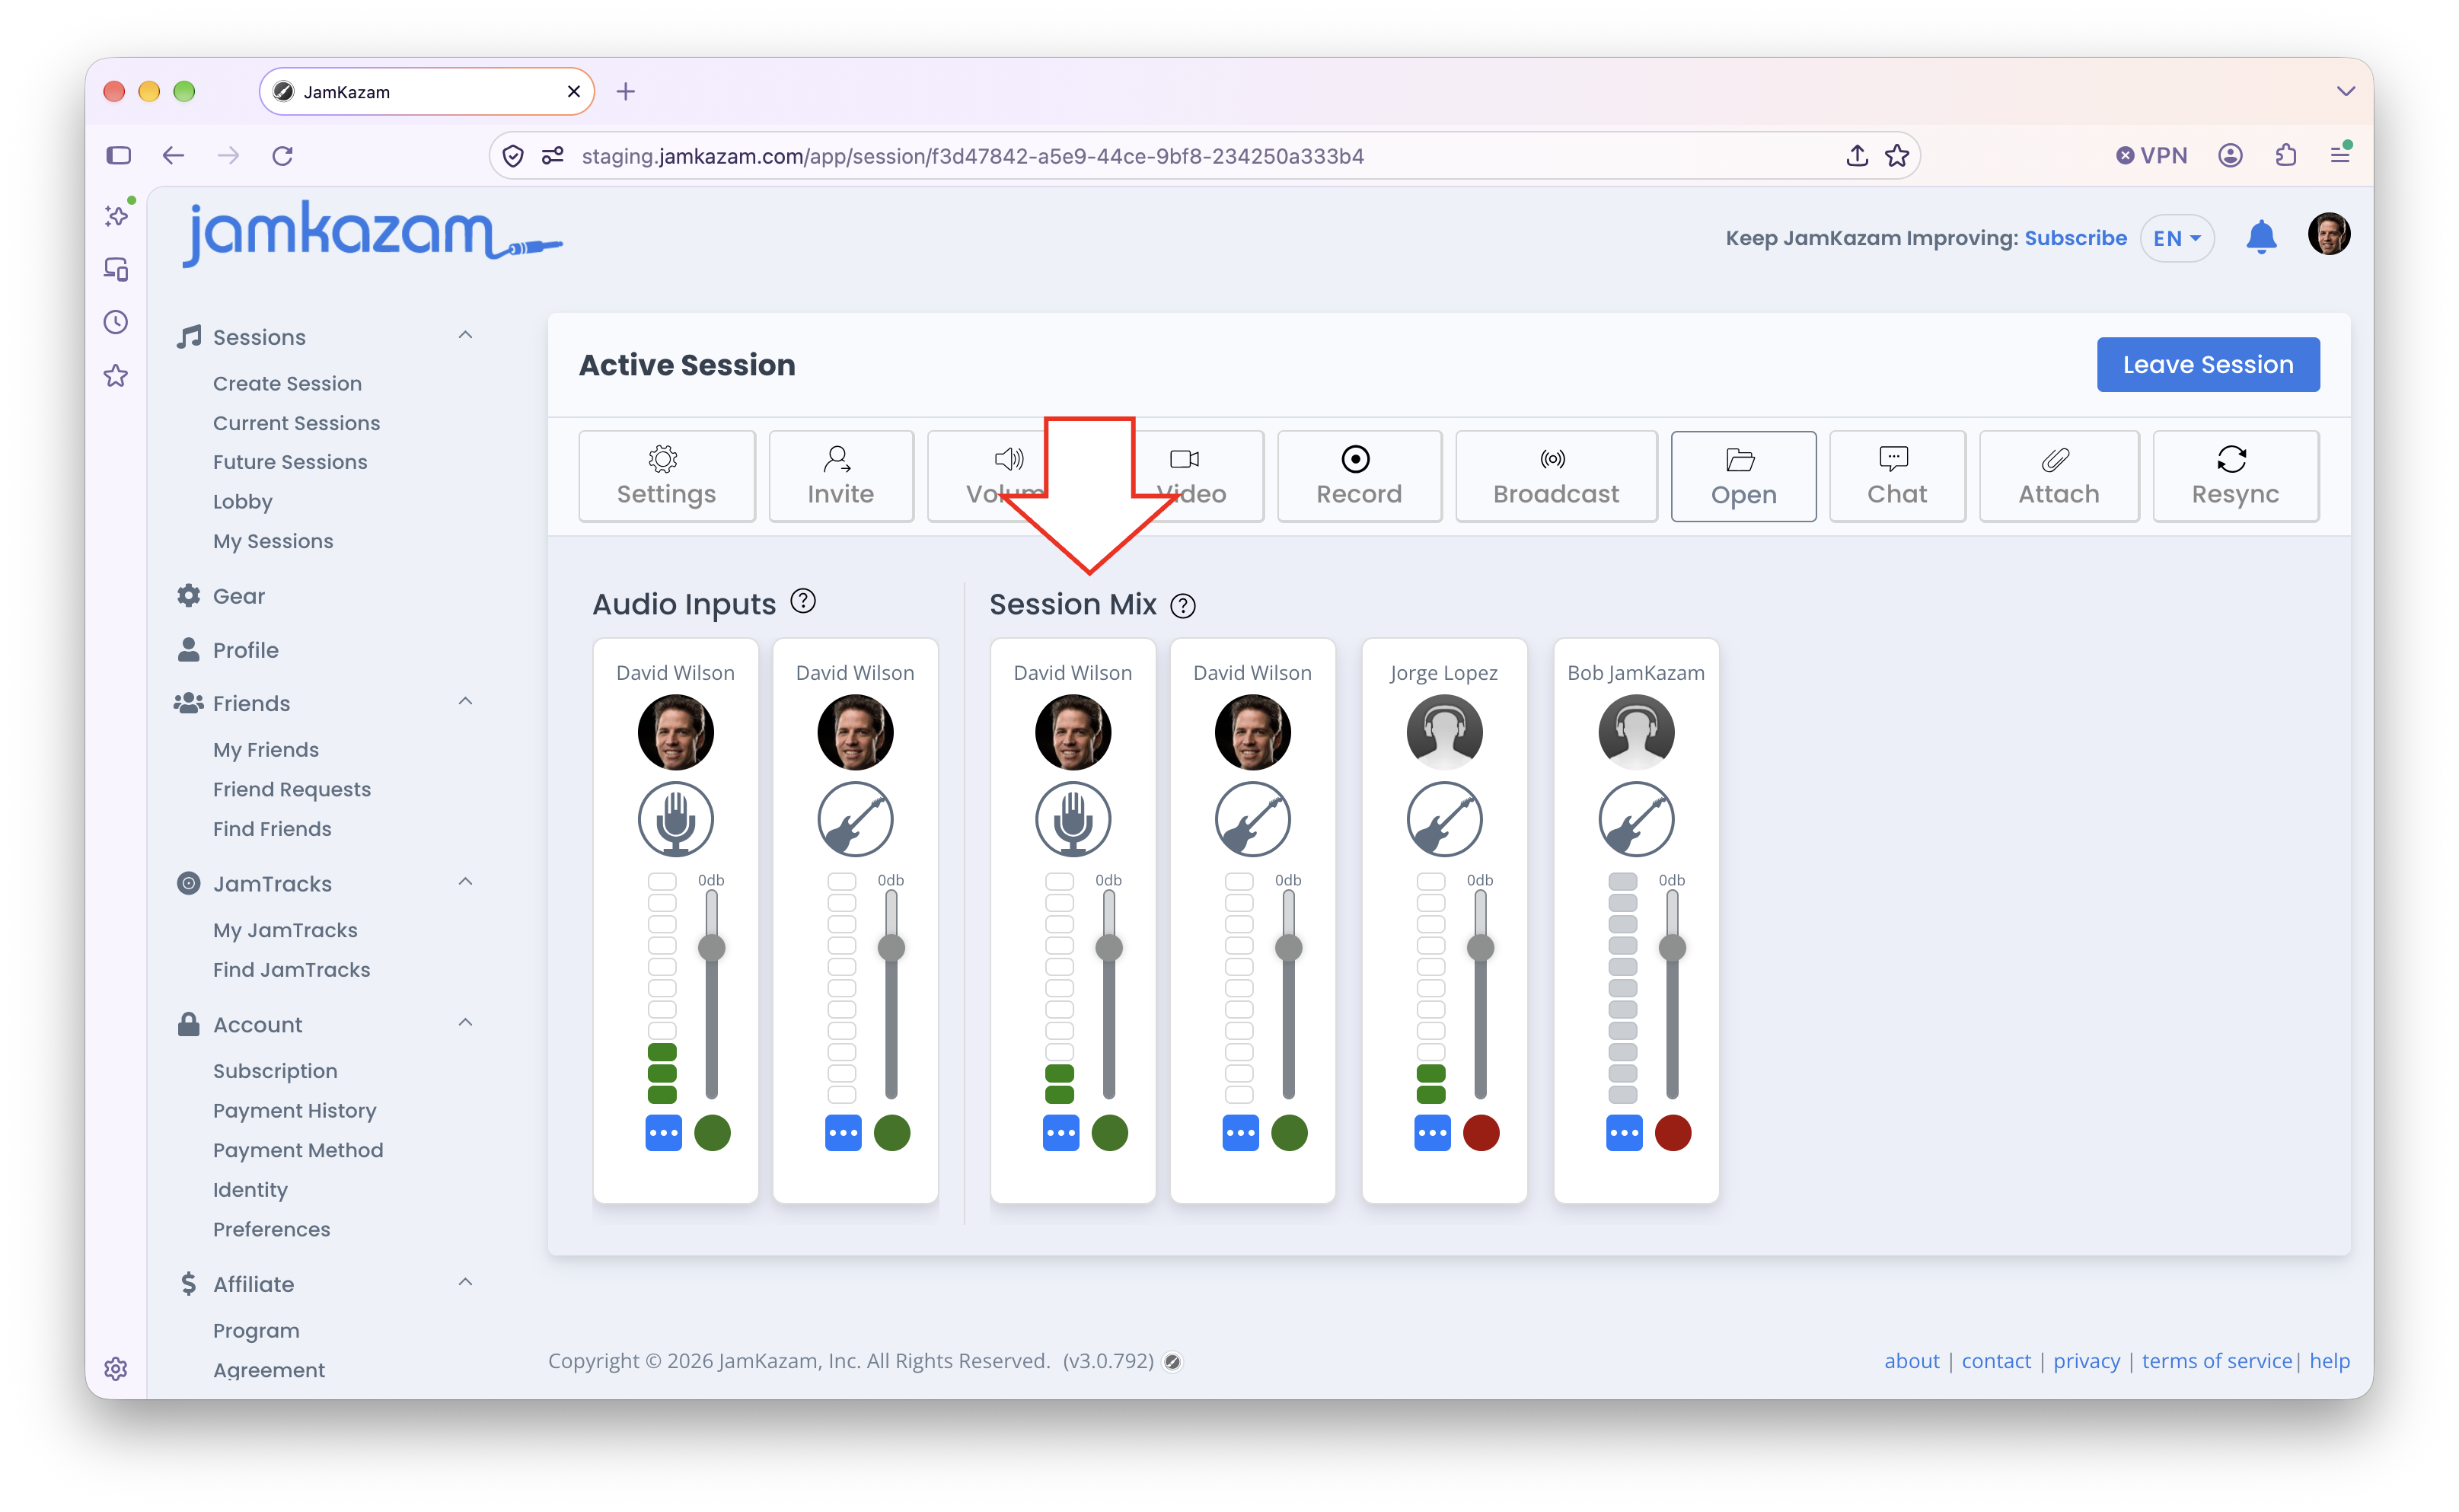
Let's start with your own volume, and let's say that you have tracks - one for your vocals and one for your electric guitar - and let's say that your electric guitar sounds a bit too soft. To fix this volume/mix issue, you should *not* change your electric guitar input level in the Audio Inputs section of the screen - assuming you set this input level properly - or this will mess up your guitar's input level, and it will also change what everyone else hears in the session in their own personal mix.
Instead, you should use the gray slider/fader control on your electric guitar track in the Session Mix part of the screen (pictured below with arrow) to adjust your electric guitar volume up or down in the mix. This only changes the volume you hear. It doesn't change the input level, and it doesn't change the volume of your electric guitar for others in the session.
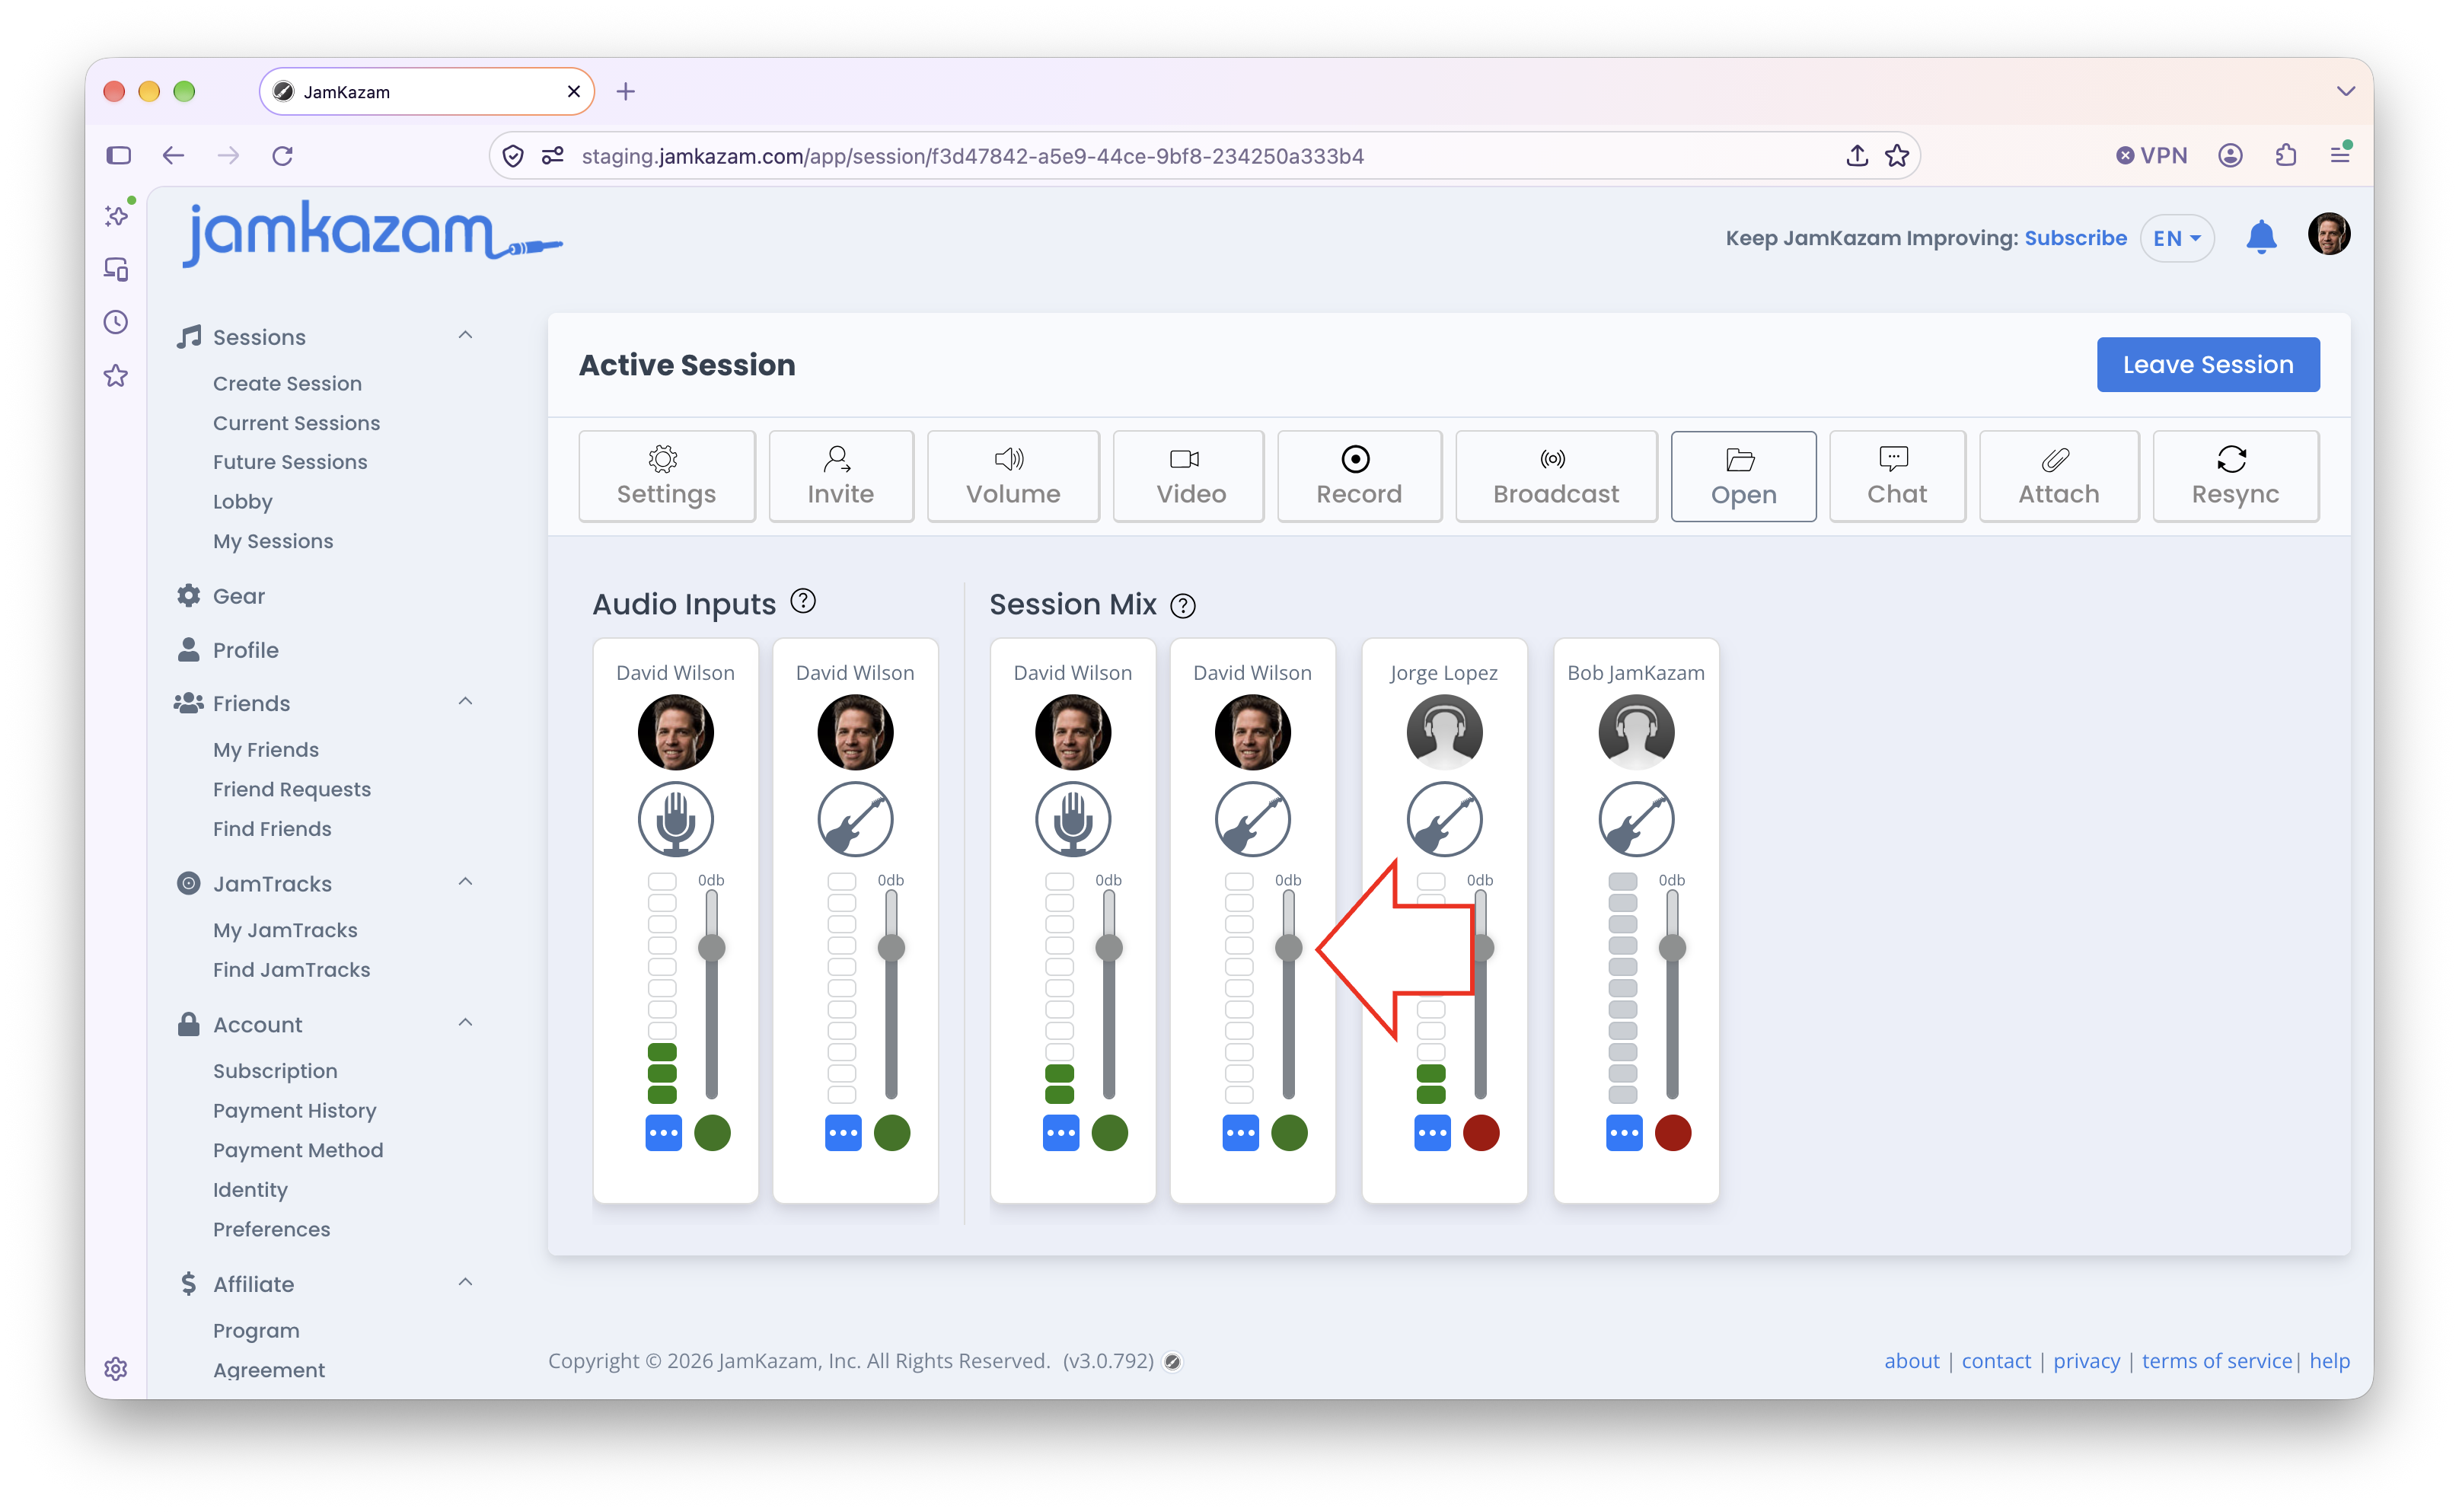
With your own tracks adjusted to a volume you're happy with, let's say another musician in your session sounds too loud or too soft to you. You can simply use the slider/fader on that musician's track to adjust their volume in the mix up or down. Here again, this will only adjust your own personal session mix. It doesn't change what anyone else in the session hears, so you can make these adjustments just for you without any worries about others. Each musician in a JamKazam session gets their own personal mix that can be customized individually.
There is one nuance in adjusting other musicians' volume levels of which you should be aware. If another musician in your session has multiple audio tracks set up on their end (e.g. vocal + instrument or the like), you will only see a single audio track for that musician in your session - and you can only control the volume for that musician in total. In other words, you don't have the ability to individually control the volume of that musician's vocal vs instrumental audio. The reason for this is that JamKazam is sending you a single audio stream from each other musician in your session, and so you can only adjust the volume for that single audio stream. This is an intentional choice. JamKazam does this to control/limit the amount of bandwidth required in sessions, as well as the amount of computing power required to process all of the audio streams - but it does limit your control as noted here.
To summarize, adjust relative volume levels in the Session Mix section for you and the other musicians in your session, and use the headphone volume knob on your audio interface to get the volume of the overall mix set at a comfortable level in your headphones.
Pan Control
While we are here discussion the mix, there is another feature you may want to use in the Session Mix section. JamKazam supports a pan feature. This feature lets you move an audio track to the left or right in the stereo mix, which can create space in the mix to hear things differently and better in some cases.
Let's say you want to pan the audio from your friend Bob's guitar in the mix. To do this, click the blue "..." button at the bottom of Bob's track in the Session Mix. You will see a menu displayed (pictured below with arrow).
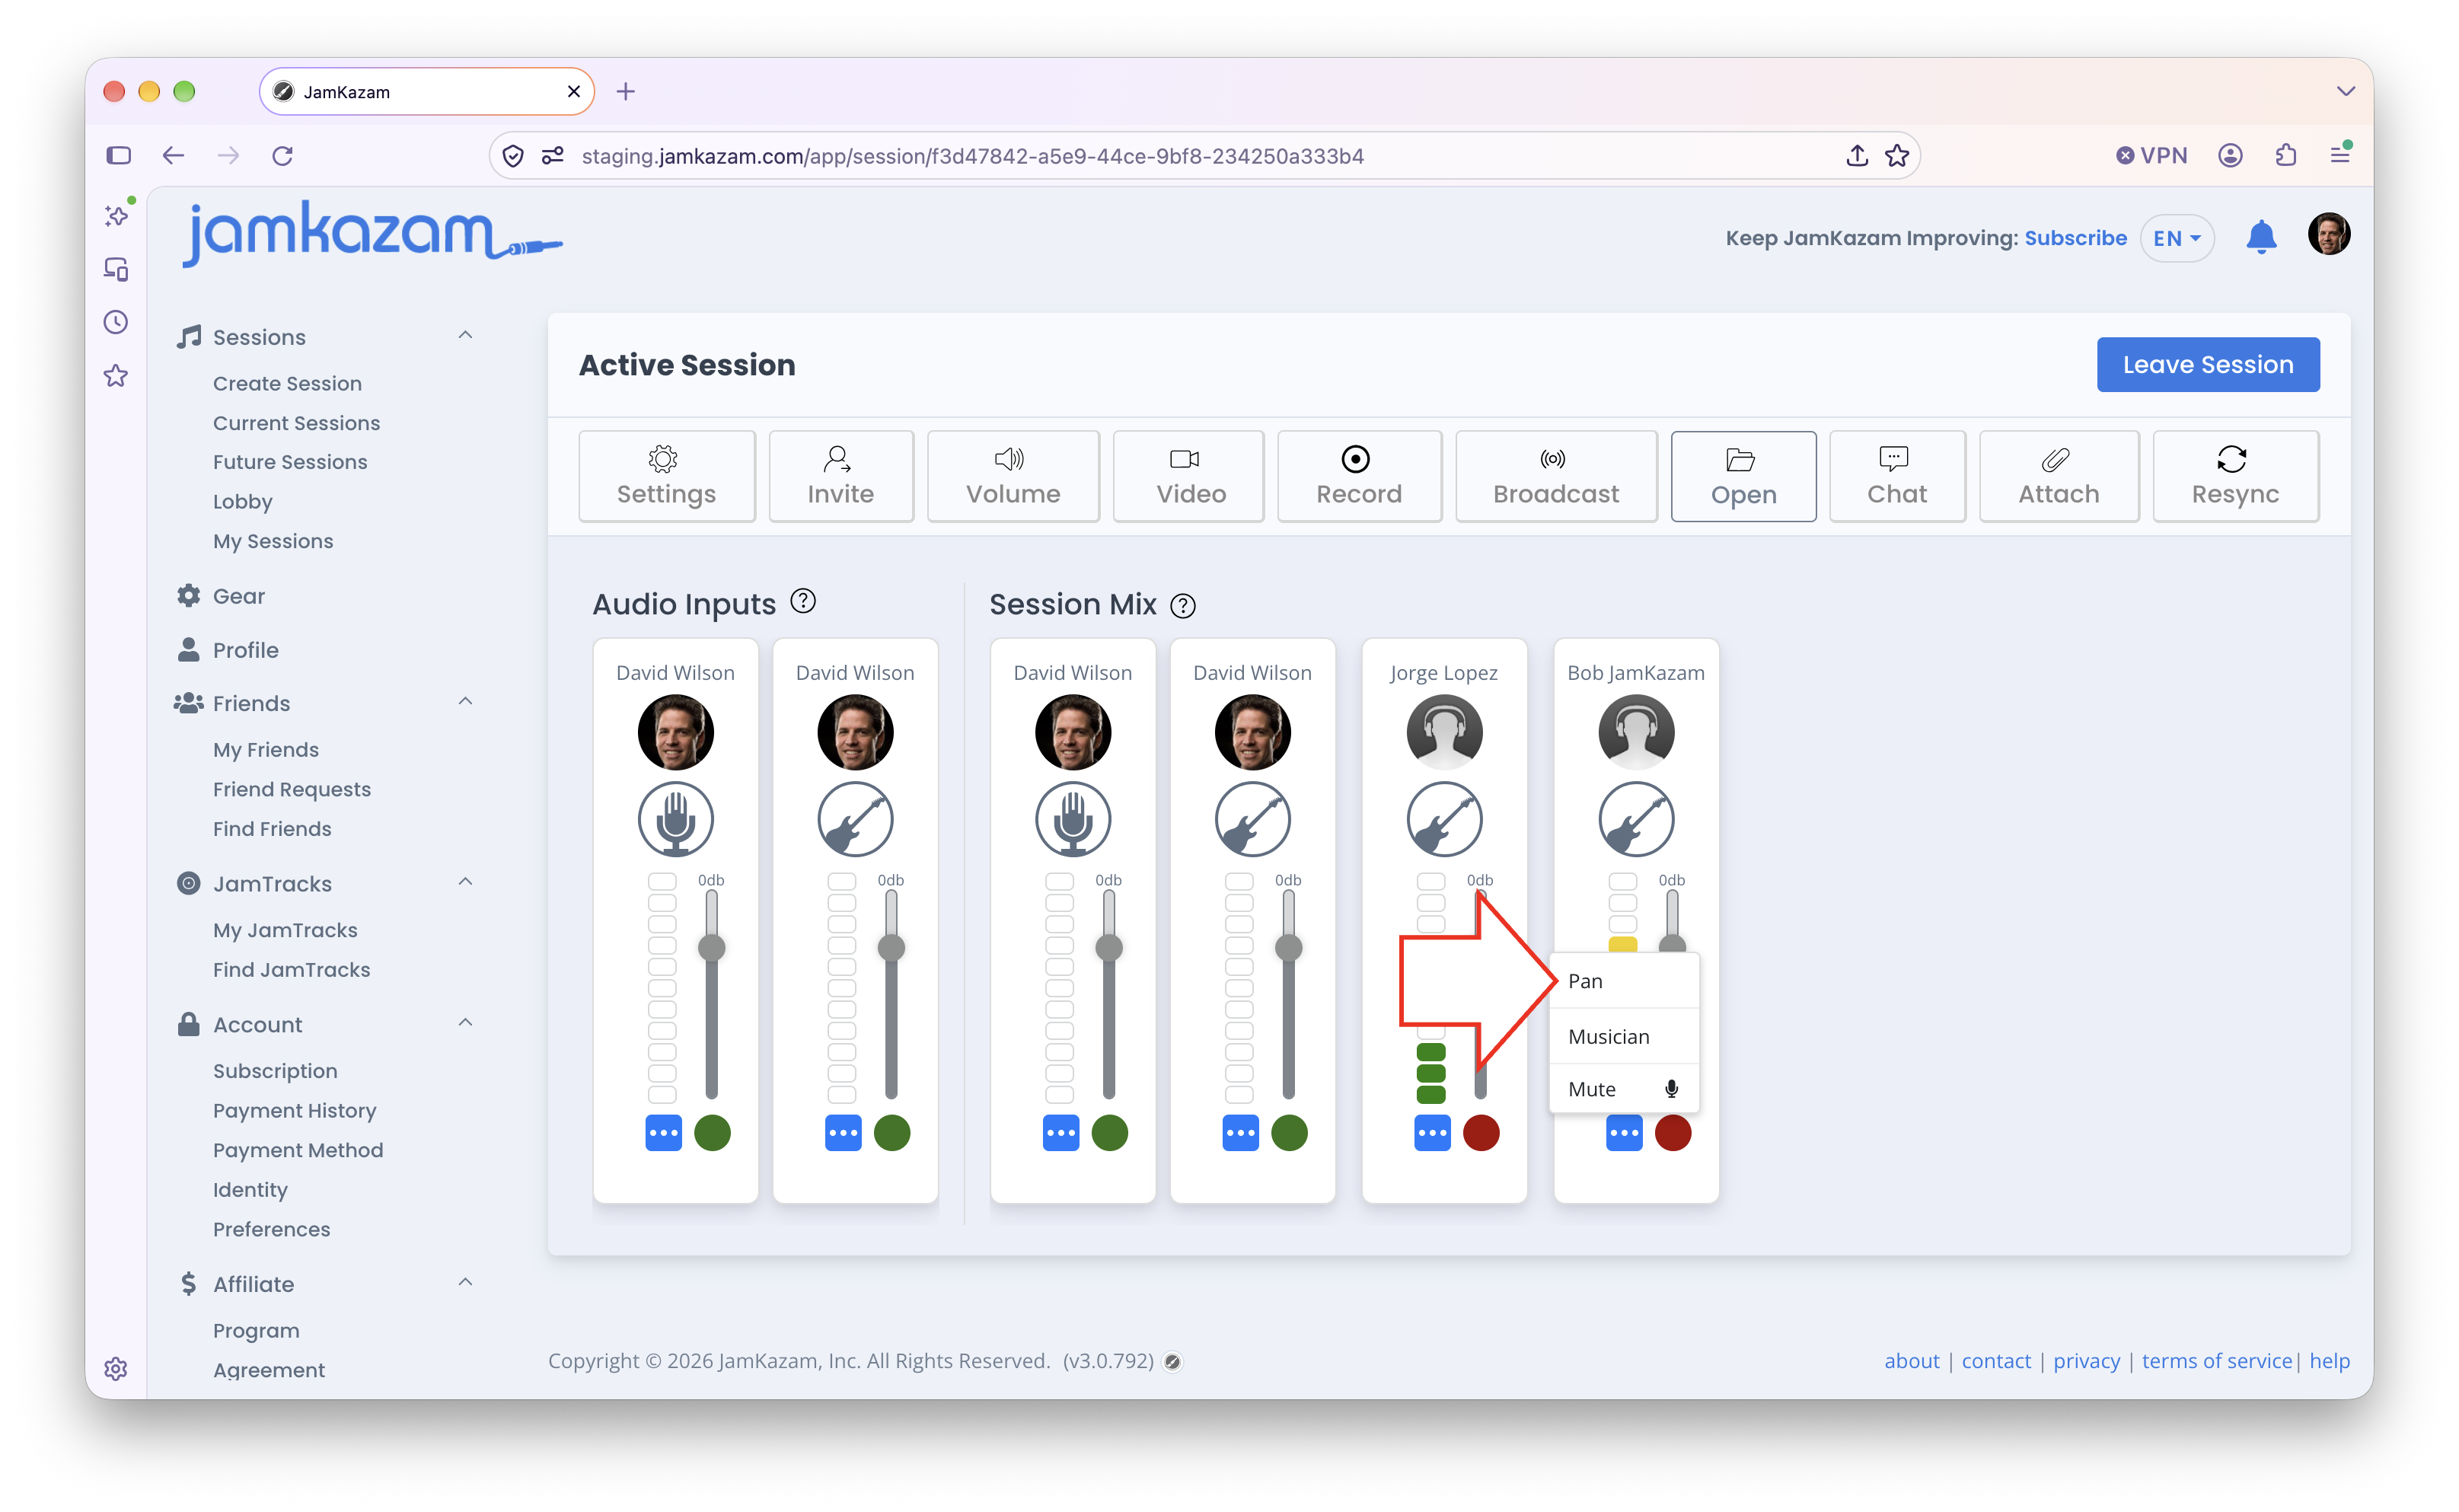
Click the Pan option in the menu. A pan control is displayed in a dialog box (pictured below).
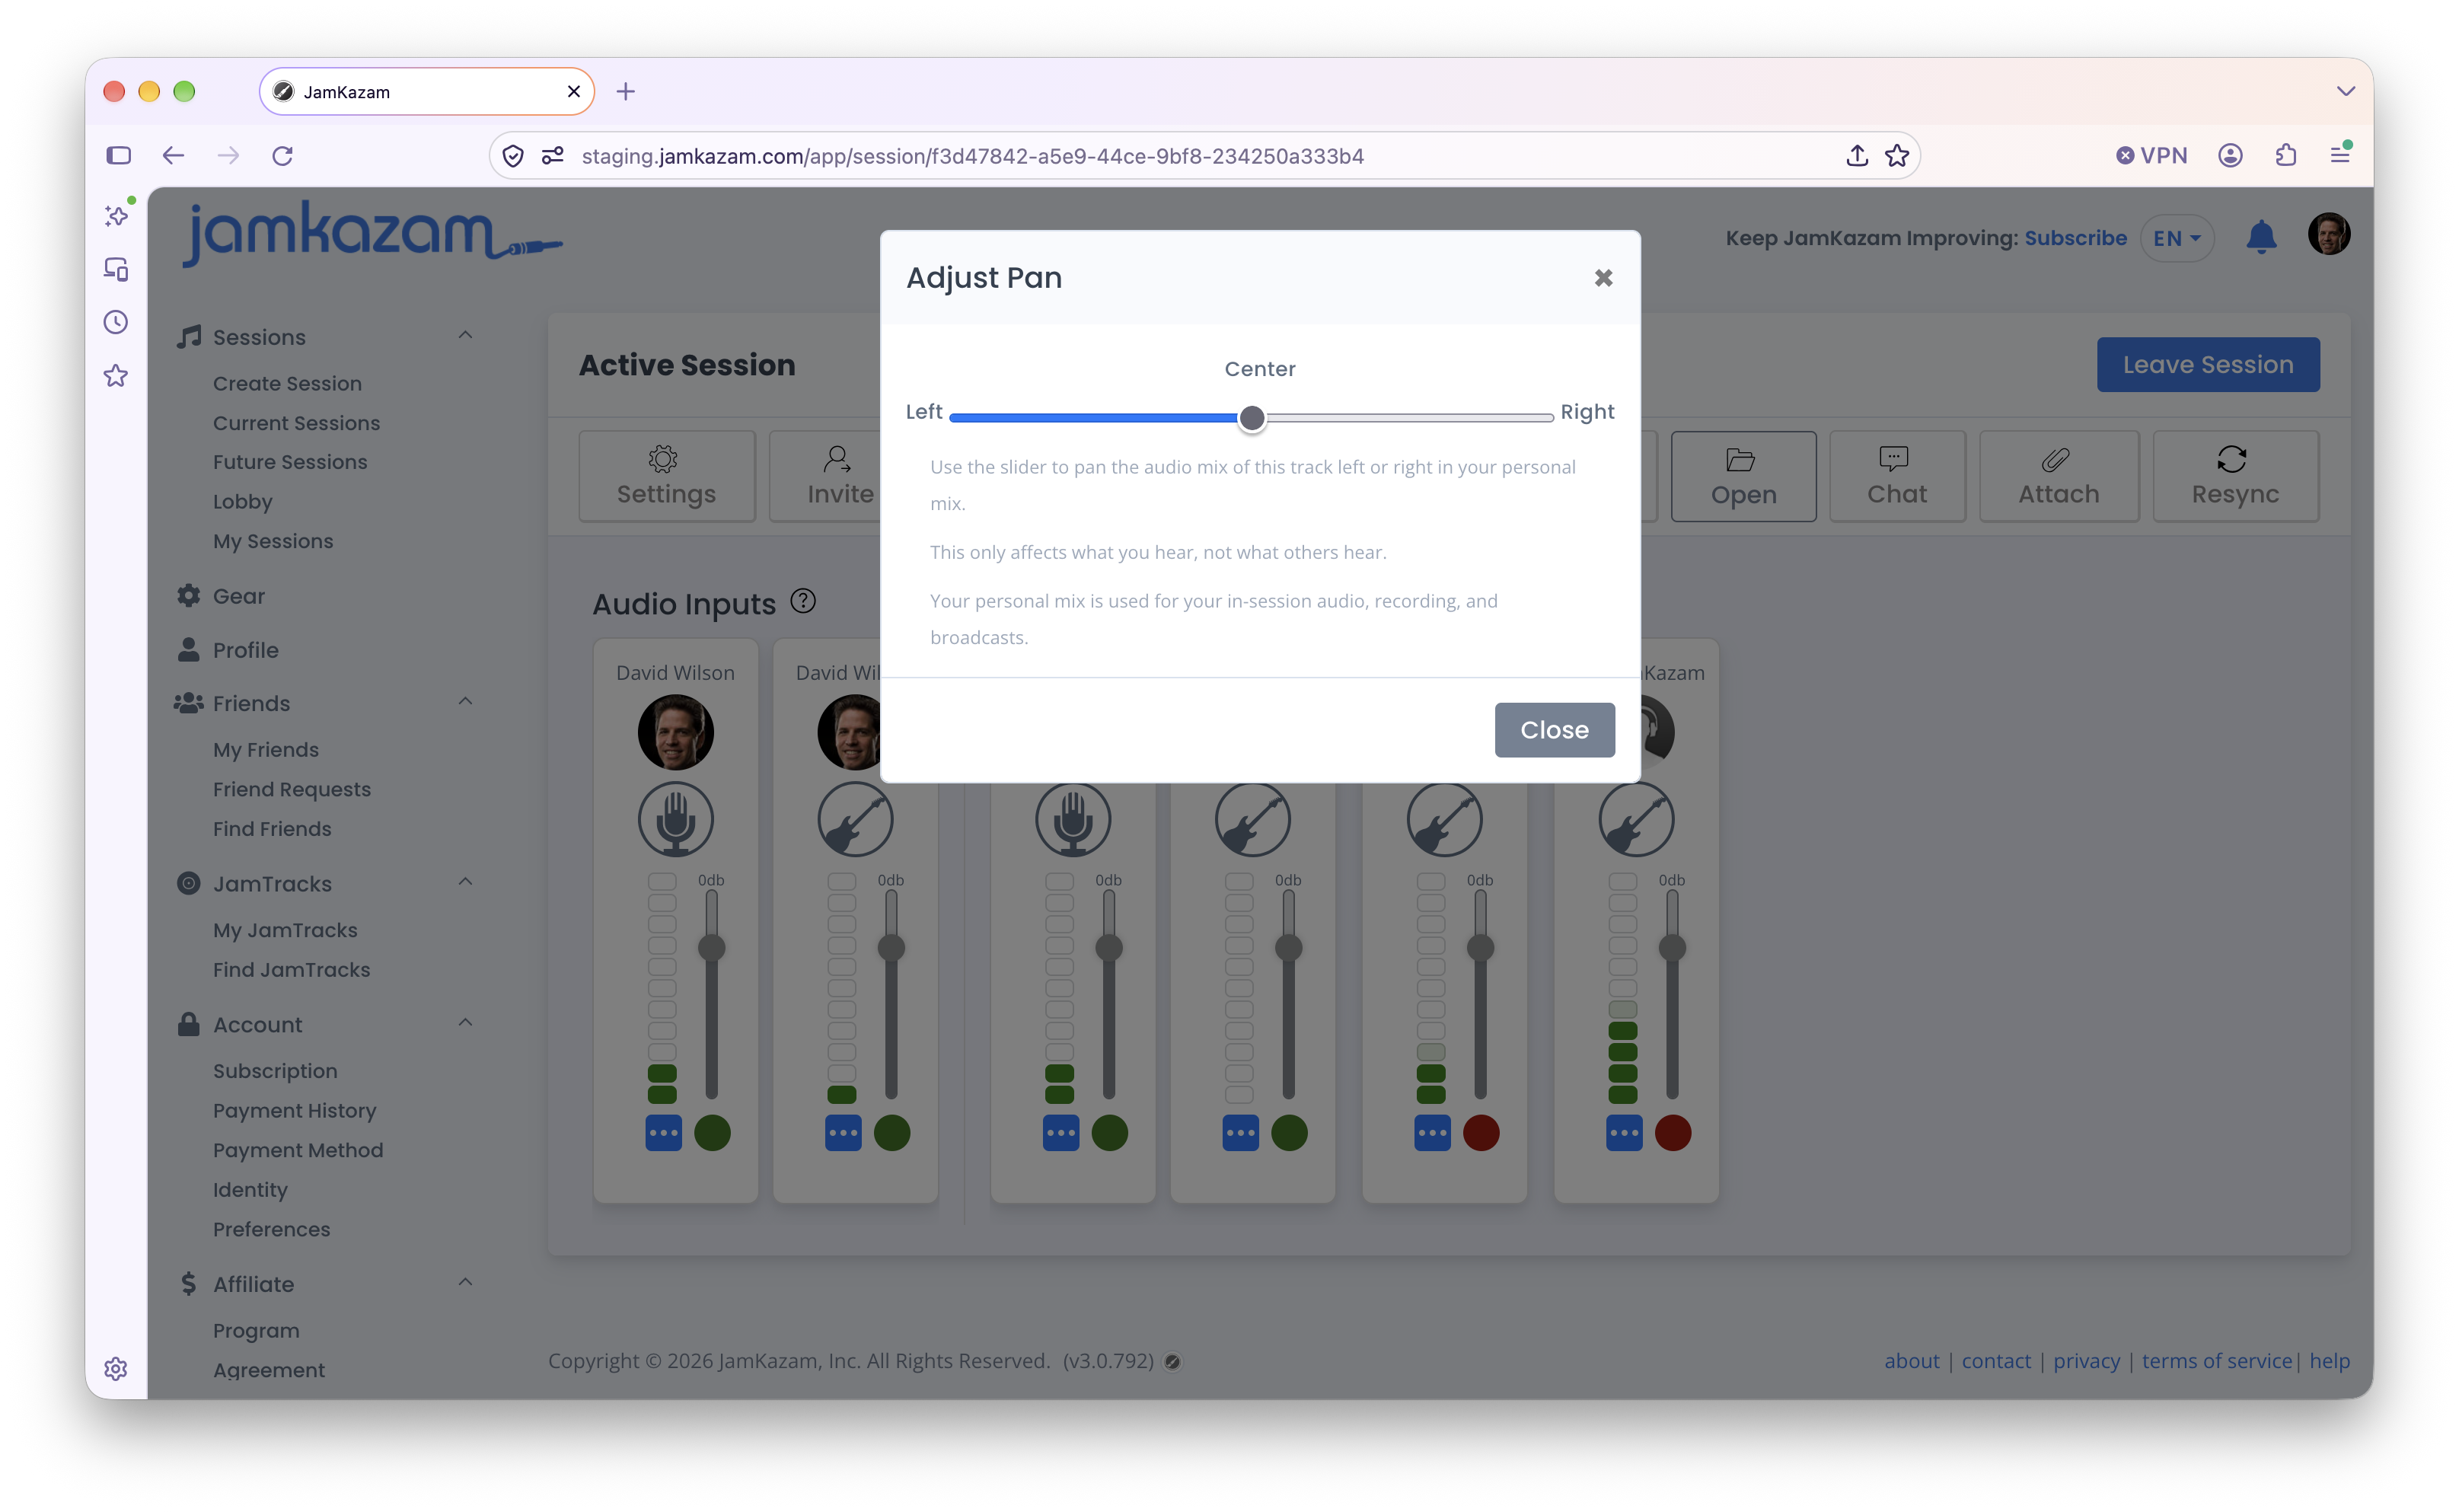
Simply pull the slider control left or right to move Bob's guitar in the mix. For example, if you pull the slider all the way to the left, you'll hear Neil's guitar only in your left headphone. Or if you pull the slider all the way to the right, you'll hear Neil's guitar only in your right headphone. You can adjust where in the mix you want each musician's track audio to be heard, and you can similarly pan your own audio tracks in the personal mix, creating a highly customized mix.
Note there is also a Mute control in the "..." menu, and if you don't want to hear a particular musician at all for some reason, you can mute their audio in your session mix. If a track is muted in your mix, the VU meter with show all light gray meter "lights".
This covers the information and features you'll need to adjust your personal session mix when playing in sessions with others.